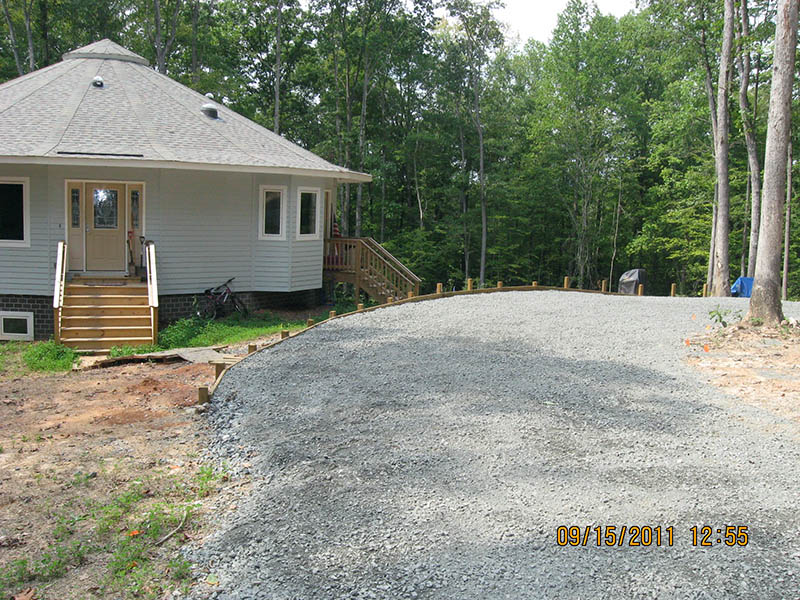
We leveled and finished the driveway loop to eliminate a severe sideways slope toward the house. The slope was so bad that car doors on the high side would close by themselves.
This project is complete. Scroll down to see photos of the major steps.
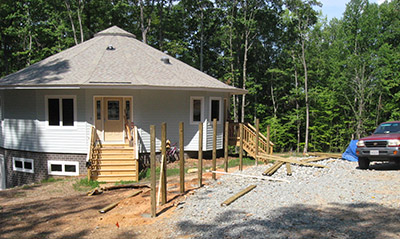
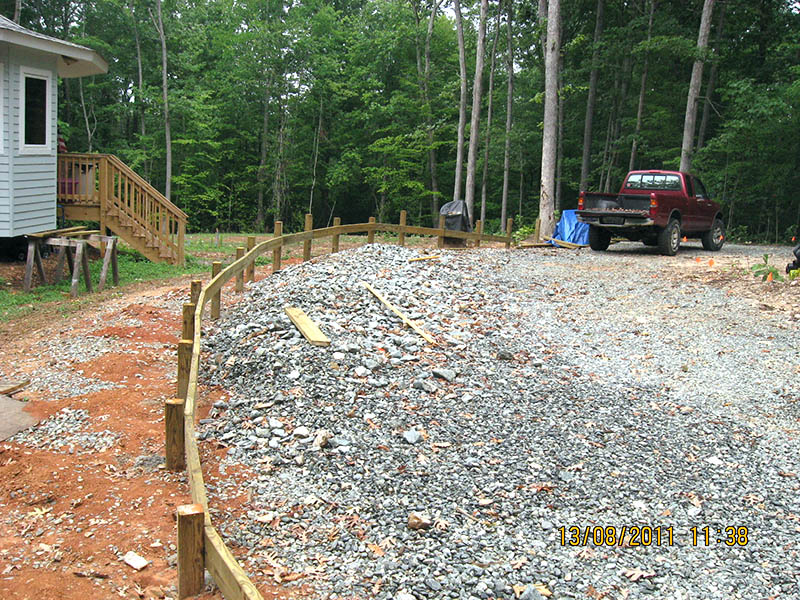
The finished driveway loop will allow us to build a deck with level walkways to the driveway. These photos show what we started with, and how it ended up.
|
|
|
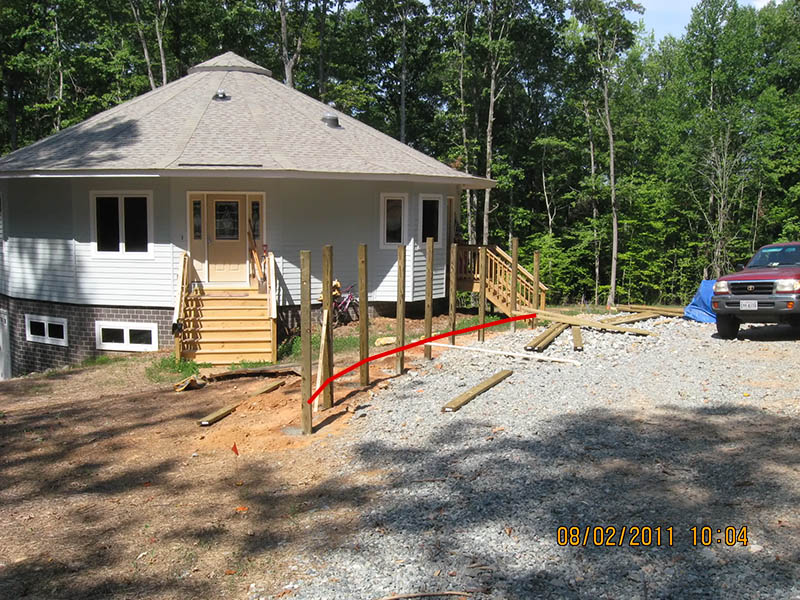
We're setting 18 posts for the driveway loop retaining wall. These posts will be cut off at the red line, and 2x6 boards will be attached between the posts. Stone will be backfilled against the boards, making the driveway loop surface nearly level, instead of sloping steeply toward the house.
All 18 driveway loop posts are planted, and today we began installing the top boards between the posts.
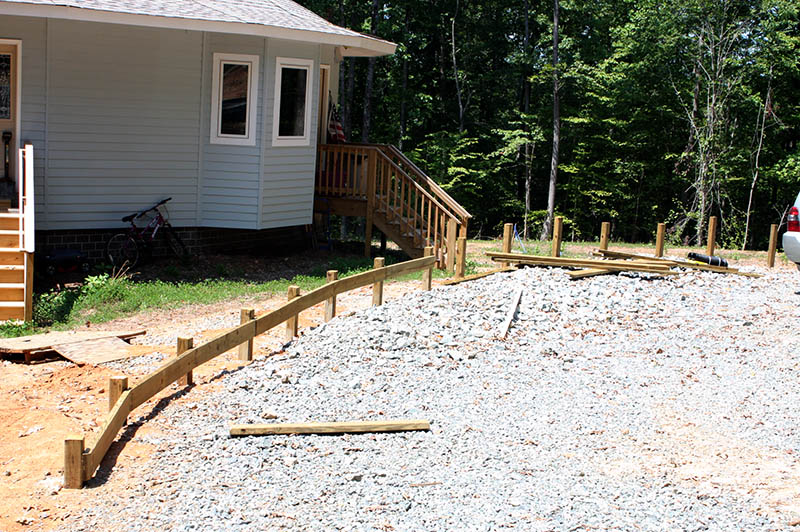
We continued installing the top boards between the posts. After the final length is installed at the far end, we'll start working on the lower planks.
Yesterday and today we installed many planks between the posts. We'll buy more boards and finish in a day or two.
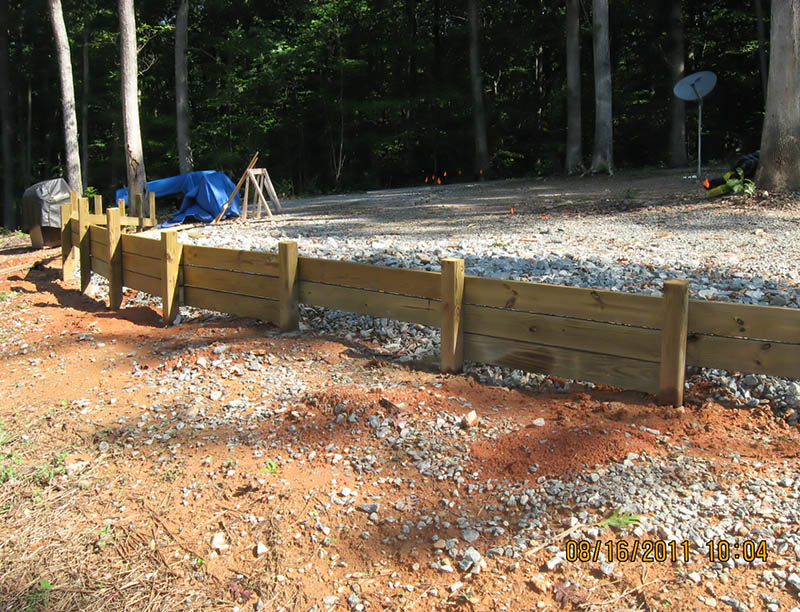
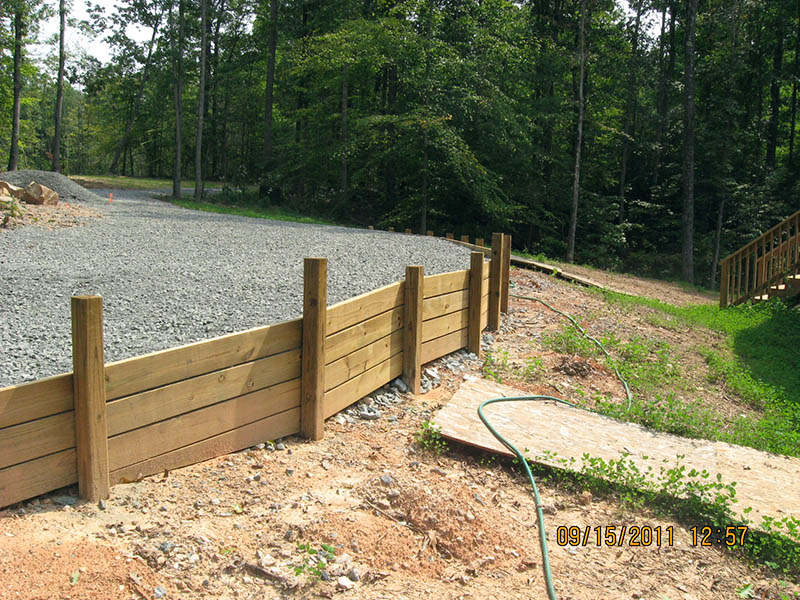
The retaining wall is complete – all the planks are installed.
Mike used the Troy-Bilt tiller with a blade on the front to push much of the large stone against the wall, and Louise used a shovel to move more. Next up: Order more stone to build up the base almost to the top of the retaining wall.
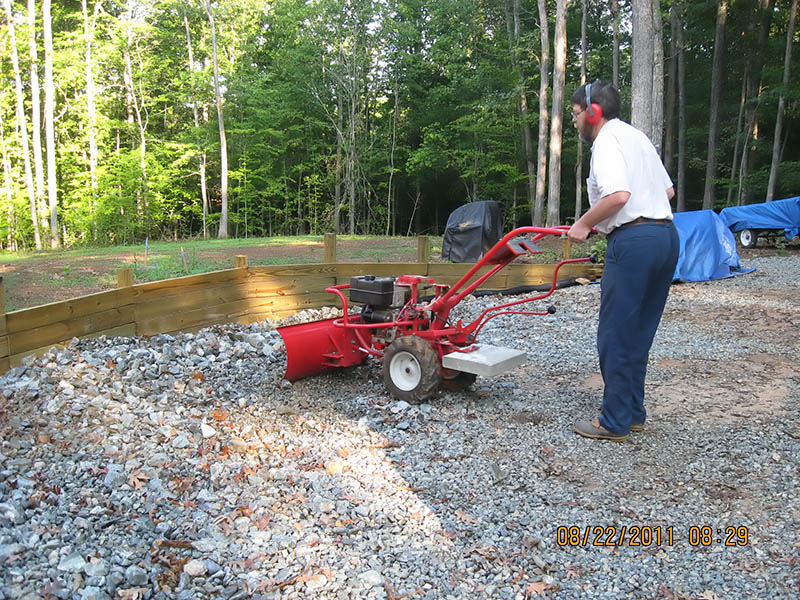
Shortly after the photo above was snapped, a magnitude 5.8 earthquake struck while we were inside the house. We're okay, and the house is undamaged.
We ordered 13 tons of #3 stone, and spread it over the driveway. Next we'll order a load of finer stone to stabilize and solidify the large base stone.

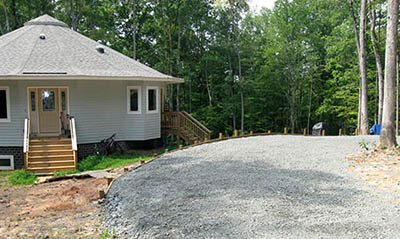
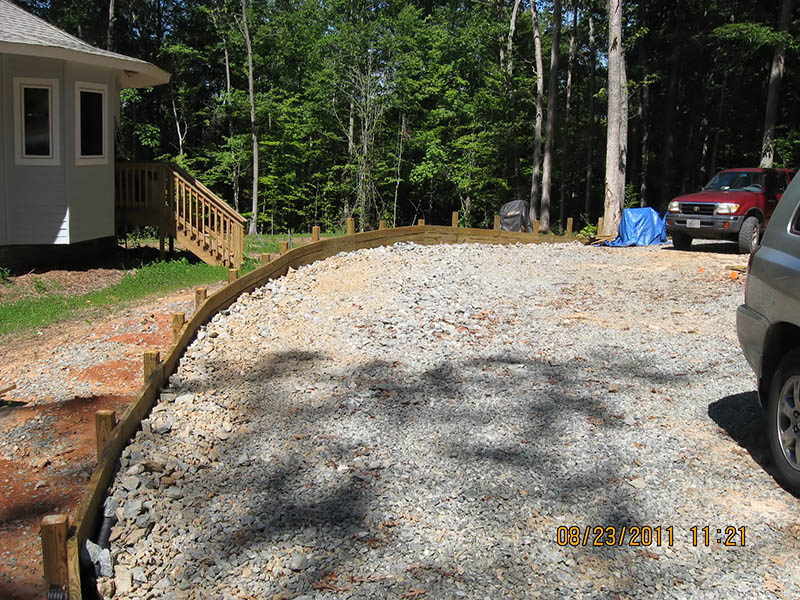
We added 15 tons of finer stone, and the driveway is looking much better – almost done.
We ordered and spread the final 17 tons of crushed stone. This project is done. Now we can start building the deck and walkways.
Four years of parking vehicles in the driveway loop convinced us that our pickup truck needs its own parking pad. Originally we planned to park the truck in the loop near the family car, but the positions of the two vehicles made it difficult or impossible for a visiting vehicle to drive around the loop – a major goal when we planned the loop.
We decided to build a 10'x20' parking pad perpendicular to the driveway, near the loop apex. This will remove the truck completely from the driveway, leaving plenty of room for a visitor to pass our car.
We will build a frame from 2x6 planks nailed to 4x4 posts, and fill it with #57 stone (currently piled in the driveway loop, blocking everything). The parking pad will slope slightly toward the rear to allow rainwater to drain from the pickup truck's bed.
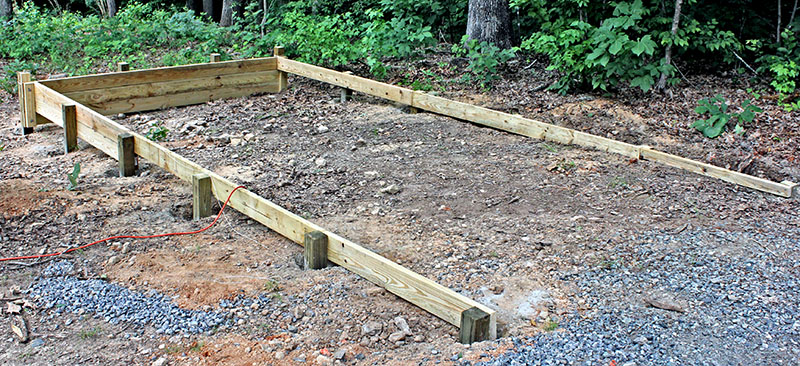
Yesterday we used our earth auger to bore 14 holes, and today we strung lines, cut the 4x4 posts to length, and set them in concrete. The next step is to custom-fit the 2x6 side boards.

We cut and installed six of the nine 2x6 boards between the posts. Some boards must be tapered on the bottom to conform to the ground slope. Three boards remain, all of which must be tapered.
Here is today's progress.
We started the working day by installing the remaining three boards, resulting in this enclosure. We used a bandsaw in the workshop to taper each board to match the ground contour. After we nailed them up, Louise plugged the inevitable gaps under the boards with fist-sized rocks to prevent the crushed stone from leaking out.
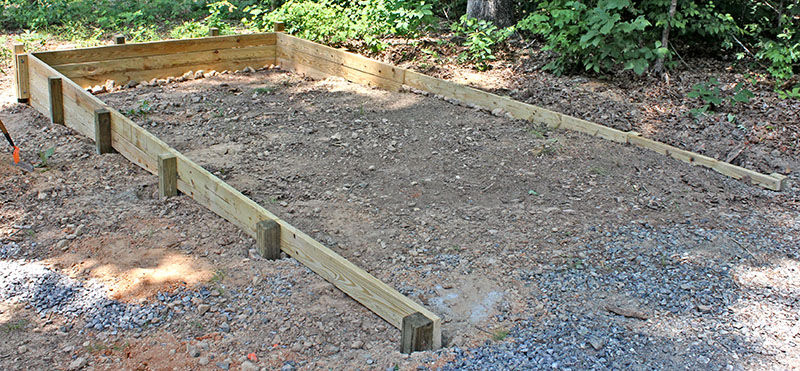
Next Mike used the tractor to move about six tons of #57 stone into the enclosure, while Louise smoothed it with a rake.
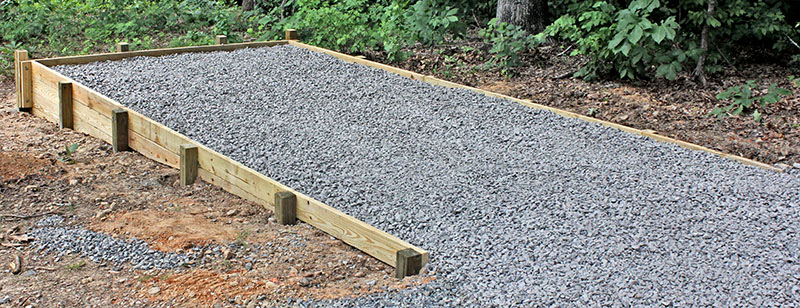
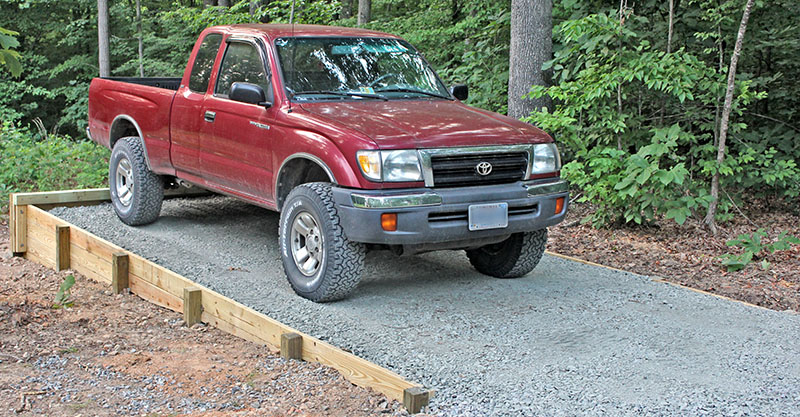
Later we spread 1½ tons of #21A stone to consolidate the larger stone for better traction. Here is our pickup truck becoming acquainted with its new home.
While we were on a roll, we decided to build a parking pad for our utility trailer. For nearly four years, we've been parking it on ramps made of 2x6 boards. It was tricky backing the trailer onto two narrow (and warping) boards, especially after dark.
We built a simple enclosure of 2x4s, and filled it with #57 stone. Beveled ramps at the front help the trailer wheels onto the crushed stone. A 2x4 across the pad provides a positive wheel stop, and there is a 2x6 "landing pad" at the front for the tongue jack's wheel.

Updated May 23, 2023