| Family Home Page | Machinist Home Page | Shop Details | Lathe Cleanup | Projects |
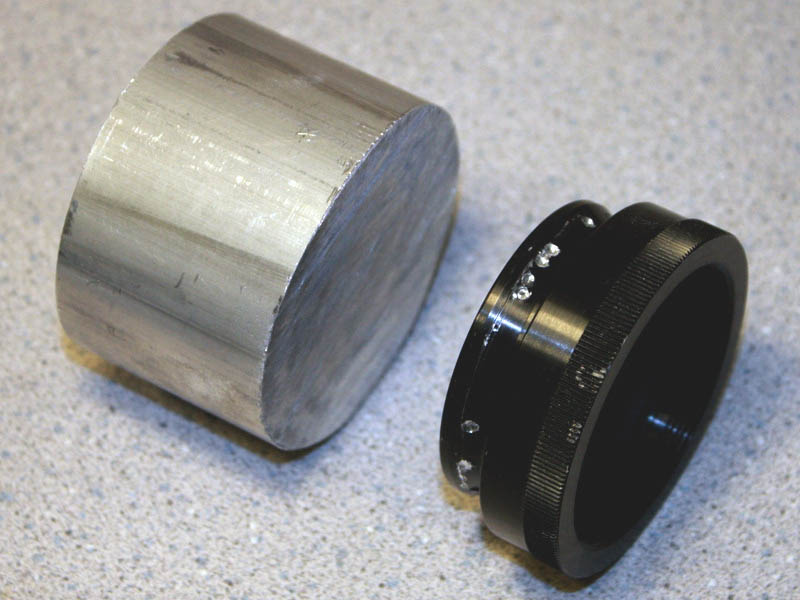
We enjoy photographing the night sky. In February 2009 image quality deteriorated, and measurements indicated an adapter ring might be allowing the camera to "droop" where it attaches to the telescope. I decided to machine a new adapter with a couple of design modifications.
I chucked the blank stock in the lathe and machined it round, then machined the face flat. The aluminum remained chucked in this position for the entire project, improving accuracy and eliminating tedious re-centering after re-chucking. Runout was measured at 0.005" on the face and on the perimeter.

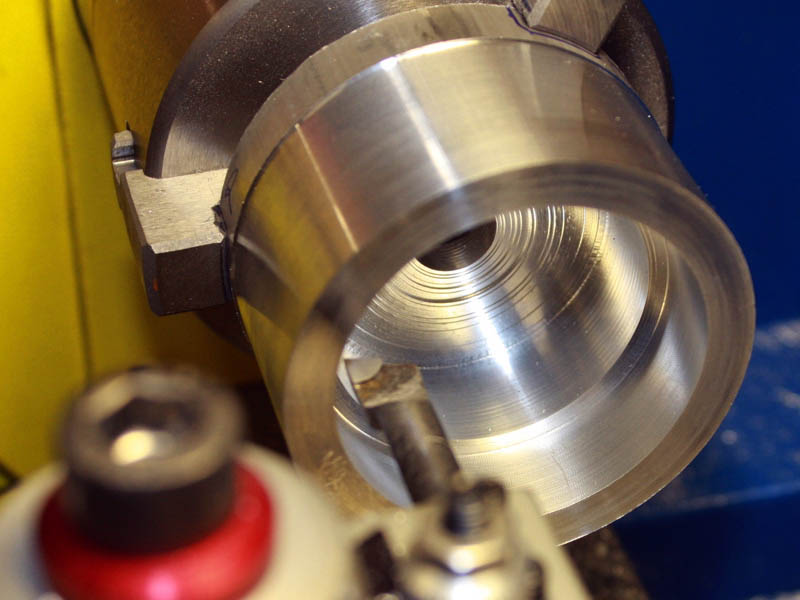
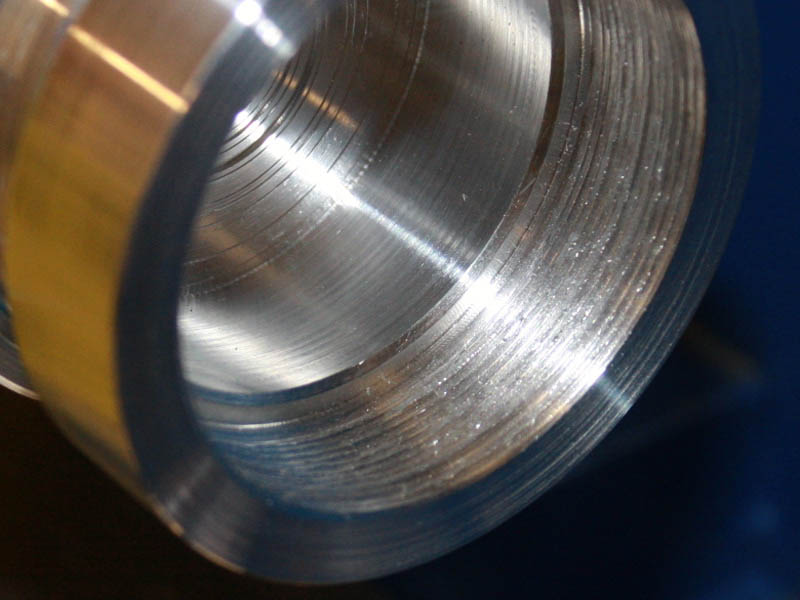
First I bored a 1.97" hole on the telescope side. Later this hole was threaded to mate with an "SCT" thread on the focuser extension tube.

With the "SCT" hole complete, I bored a 1.76" hole on the camera side.
Since the piece remained chucked in the lathe for the entire machining operation, the smaller camera-side hole was bored into the rear of the telescope-end hole.
Even though the starter hole was drilled all the way through the piece, the camera-side hole ends just beyond the chuck jaws, where the adapter will be cut.
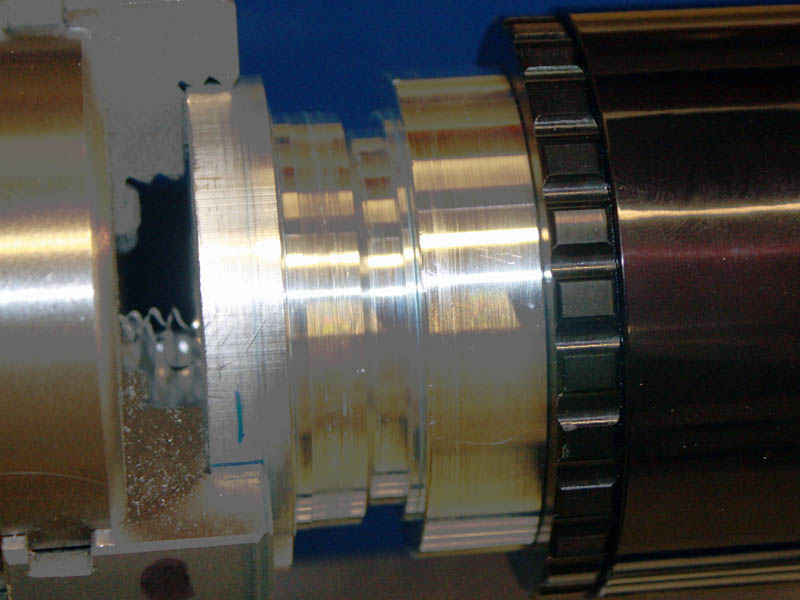
The outside diameter of this section was reduced to 2.10" to fit inside the rotator's attachment hole. I painted this area with blue marking dye, then scribed lines for the sections of the dovetail. In this photo the tool is starting to cut the dovetail.
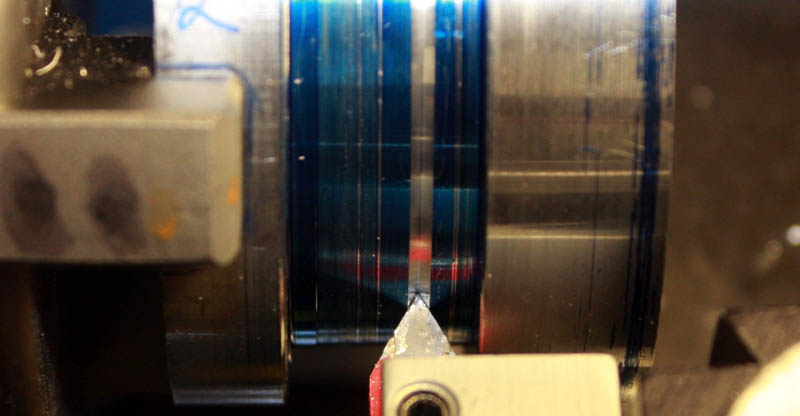
The left side is cut with a 60° angle. The angle on original adapter was much shallower, and the attachment set screws dug into the dovetail (top of page, second photo) instead of pulling the mating pieces together. The 60°angle allows the set screws with ends ground to the same angle (inset photo, bottom) to pull the pieces tightly together without digging into the aluminum.

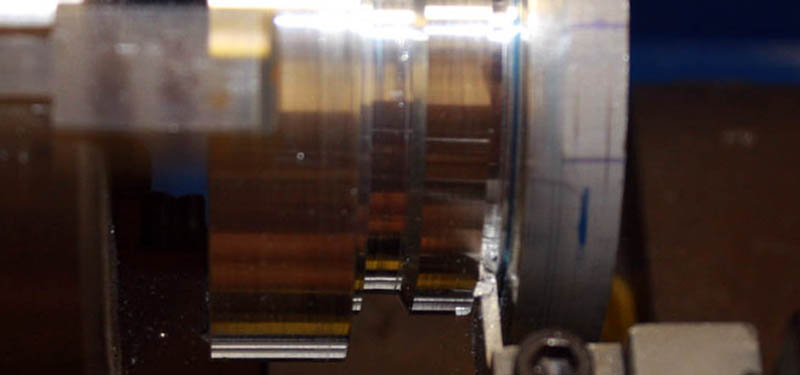
My mini-lathe is too small to allow positioning the tool to cut on the near side of the bore, so I had to cut on the far side. This required running the motor in reverse – the piece in this photo is rotating clockwise as viewed from the end. Running in reverse presents no problem thanks to the lathe's DC motor and controller. The lead screw was set to feed the tool out of the bore, so there was never any concern of feeding in too far.

The threads are a bit rough, probably because my final cut was slightly deeper than intended. Nevertheless, they mate fine with the extension tube. This area incorporates the second improvement over the original adapter – a deeper hole with more threads. The original adapter's threaded hole was too shallow, forcing the extension tube's male threads to bottom-out in the adapter hole and leaving a 0.08" gap between the adapter and the tube. The connection was solid because the tube was bottomed, but I believe it's better for the external surfaces to mate. This spreads the load over a broader area, reducing forces on the joint.
The connection is tight, with no visible gap. I measured runout on the extension tube at 0.005", which is the same as the runout measured on the adapter immediately after it was machined. I consider 0.005" to be acceptable for this application.
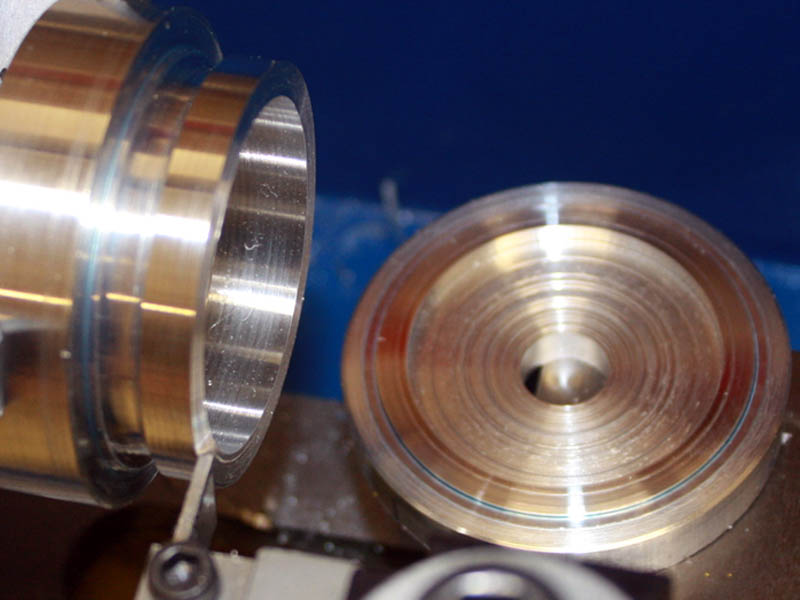
Now the adapter is reversed, with the internally-threaded end in the chuck.
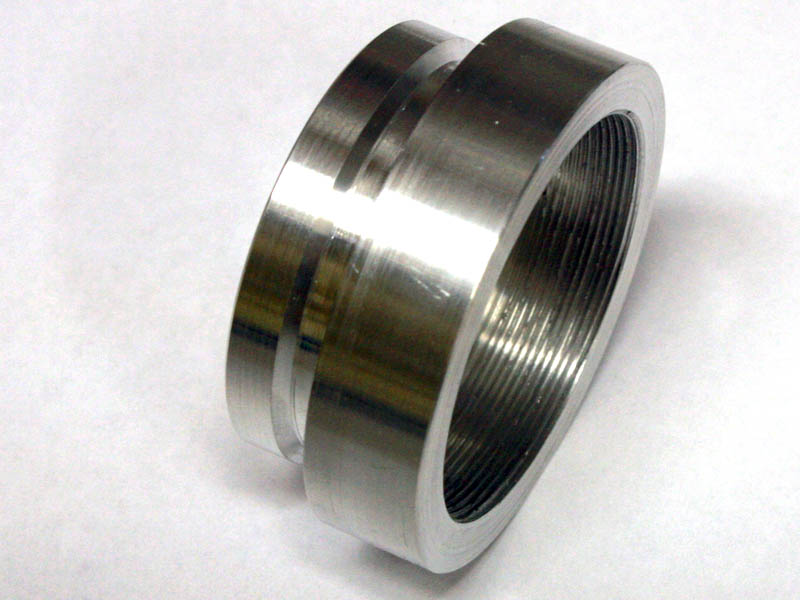
Later the camera end of the adapter was faced, even though this surface does not mate with anything, and all corners were beveled slightly. The finished adapter is shown in the photo at the top of this page.
Updated September 22, 2024