| Family Home Page | Machinist Home Page | Shop Details | Lathe Cleanup | Projects |
This is another amateur astronomy project. Telescopes use heavy-duty brackets and dovetail rails to attach accessories. Commercial brackets sell for $40.00 apiece, so I made two and saved $80.00. These photos show the brackets and the steps involved in making them.
I actually drew plans for this project, using Adobe Illustrator on my computer. On many projects I use pencil sketches instead of formal plans. Here a piece of raw aluminum stock for two brackets is shown resting on the drawing.
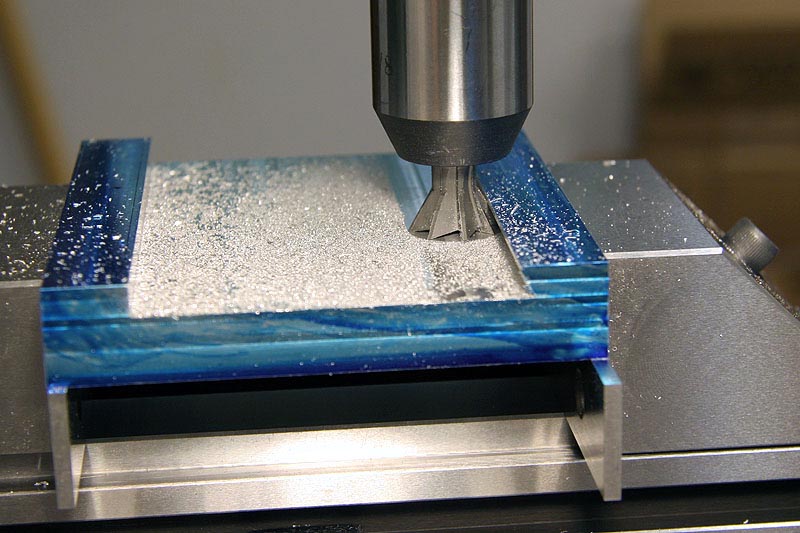
 All major machining was performed on a single piece of aluminum, which later was cut in half to make two brackets. Here a 60° end mill is beveling one of the sides of the dovetail channel. The channel was cut earlier using a regular end mill.
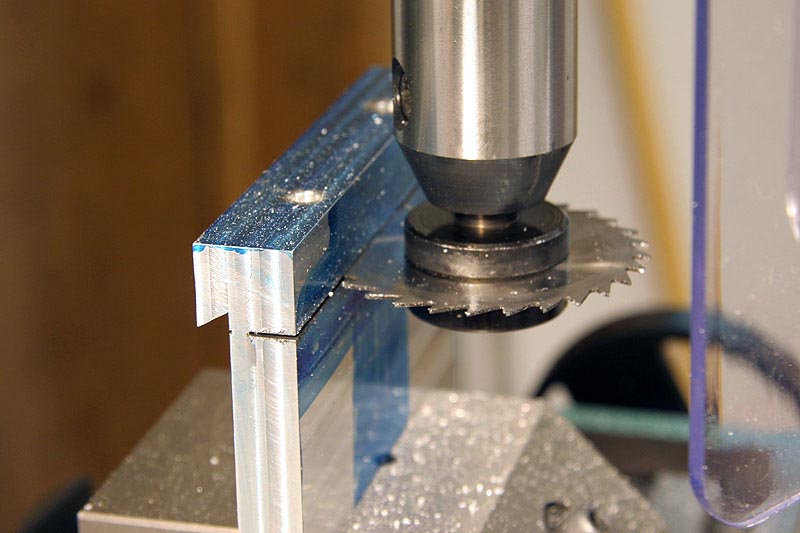
Once the aluminum was milled to shape and holes were drilled, a slitting saw sliced off the clamping edge.
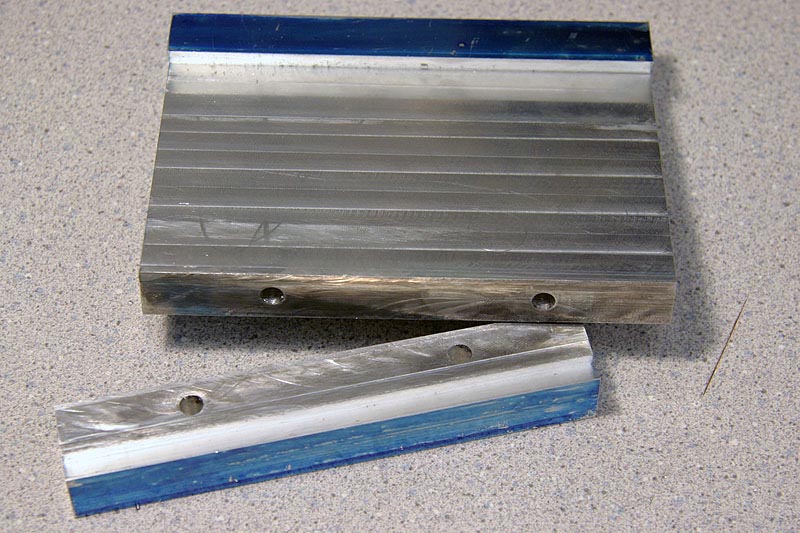
 These pieces will later be cut in half to form two brackets and two clamping edges. Each bracket and clamping edge will have one hole. A bolt in this hole clamps the bracket tightly to the mating dovetail rail.
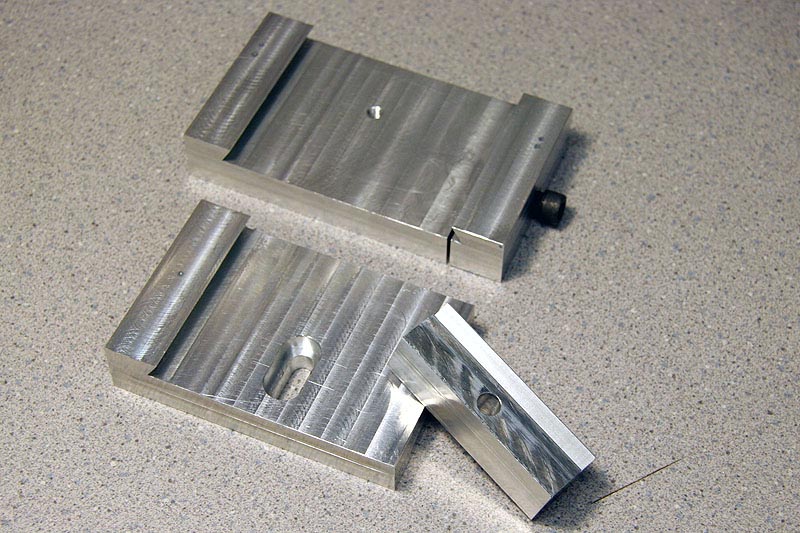
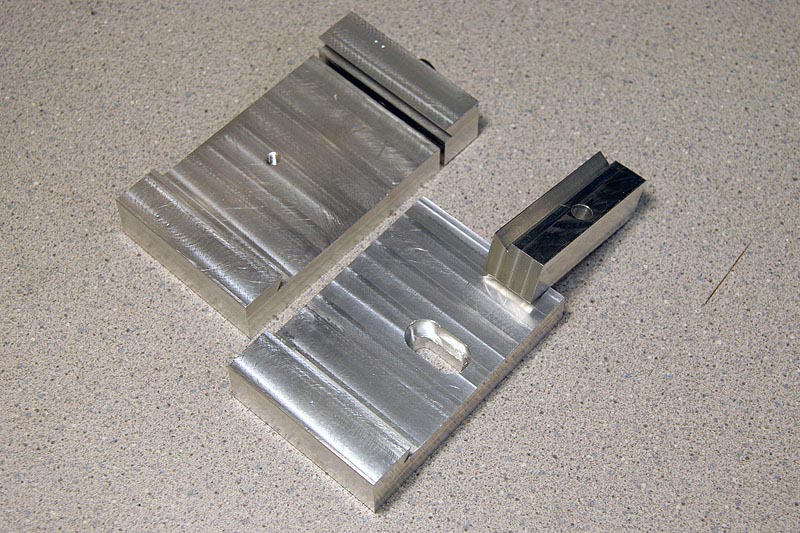
The machined aluminum pieces have been cut in half to create two brackets with their mating clamping edges. The bracket on the right has received further machining to add a countersunk slot used to attach a "guiding camera" that corrects telescope tracking errors while the main camera exposes an image over many minutes. The lefthand bracket has a threaded hole for attaching a small telescope used with the guiding camera. This bracket later received additional threaded holes for a metal strap to clamp this guiding telescope securely in place.
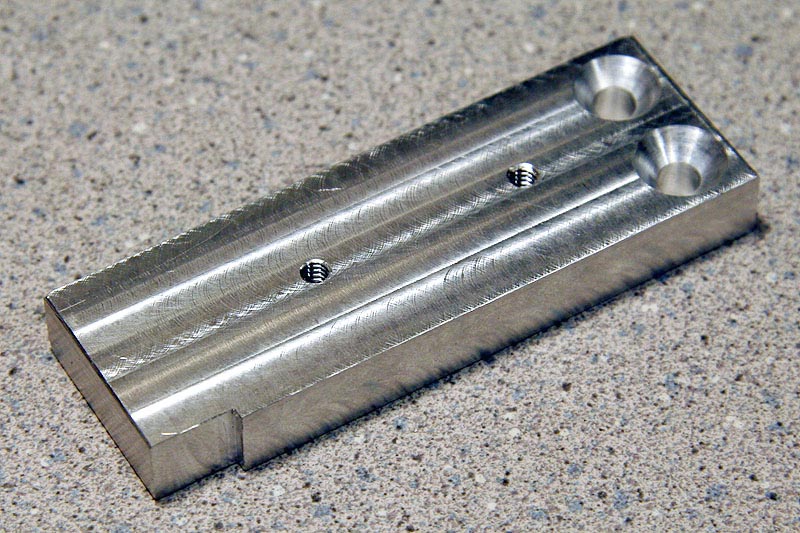
The guiding camera requires a "backrest" to prevent it from tilting backward when pointing high in the sky (movement a fraction the thickness of a human hair can ruin an image). This backrest is just a short rectangular aluminum block with four holes drilled in it. The two threaded holes attach the backrest to the camera housing, and the two countersunk holes attach it to a dovetail bracket.
 The two screws that attach the backrest to the dovetail bracket.

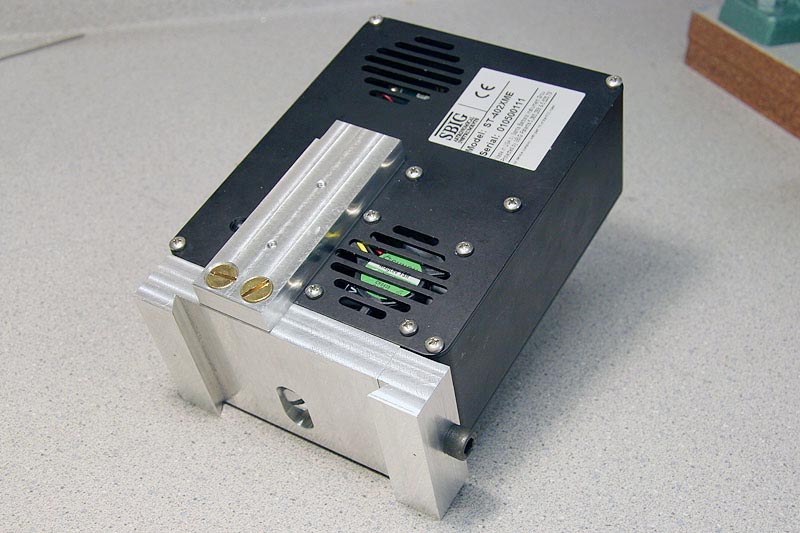
The guiding camera is attached to a dovetail bracket, with the backrest in place. The large camera-attachment screw is visible in the countersunk slot.
Updated September 22, 2024